How to Clean a Blender Without Taking It Apart
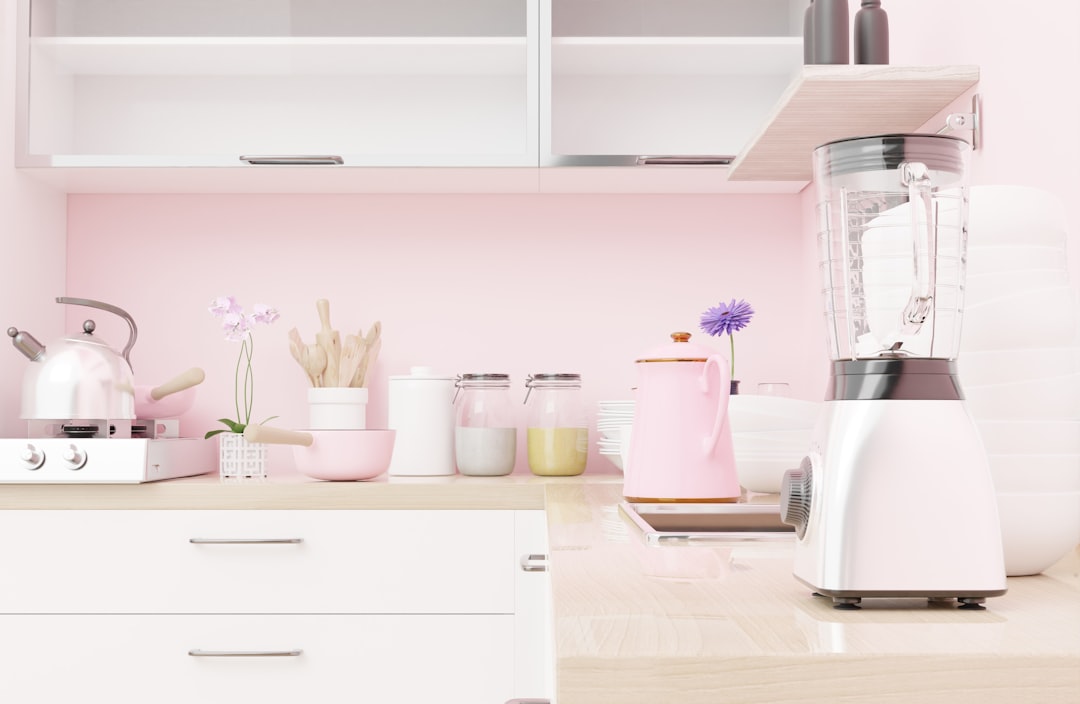 Photo by dada_design on Unsplash
You just finished blending a smoothie, and now there’s a ring of banana sludge clinging to the walls of the pitcher, and the last thing you want to do is wrestle with the blade assembly, wash six separate parts, and dry them all before dinner. Good news: you don’t have to.
The self-clean method is the one trick most people never learn, even though it takes about 30 seconds and works better than hand-scrubbing ever did. It also keeps your fingers safely away from blades that are sharp enough to end your evening early.
This guide covers the fast daily method, what to do about stuck-on gunk and smells, and when you actually do need to disassemble things (spoiler: less often than you think).
The Fastest Way: The Self-Clean Method
This is the trick that works for almost every blender, from a $30 basic model to a high-end Vitamix, because it uses the blender’s own motor to do the scrubbing.
- Fill the pitcher about halfway with warm water.
- Add one drop of dish soap. Just one. More turns into a bubble volcano.
- Secure the lid tightly.
- Run the blender on high for 20 to 30 seconds.
- Pour out the soapy water, rinse with clean water, and let it air dry upside down on a dish rack.
The spinning blades and water pressure scrub the pitcher walls and the underside of the blade assembly without you ever touching them. For a blender used once a day, this is all the cleaning it needs, every single time.
What to Do About Stuck-On Gunk
Some blends fight back. Thick nut butters, frozen mango, or anything with seeds can leave a stubborn film that a quick soap-and-water spin won’t fully lift. Here’s how to handle it without disassembling anything.
- Fill the pitcher with warm water until it covers the residue.
- Add a tablespoon of baking soda instead of soap. Baking soda is mildly abrasive and breaks down dried food better than soap alone.
- Let it sit for 10 minutes. Don’t skip this, the soak does most of the work.
- Run the blender on high for 30 seconds.
- Check the walls. If residue remains, repeat once before you consider taking the pitcher apart.
For seed-heavy blends like chia or flax smoothies, add a few ice cubes to the soak. The ice acts like tiny scrubbers as they get chopped up during the spin cycle.
Getting Rid of Smells and Stains
A blender that’s been used for garlic dressing one day and a berry smoothie the next can start to smell like both at once. Water alone won’t fix that.
- Fill the pitcher with equal parts white vinegar and warm water.
- Run it on high for 30 seconds.
- Let the mixture sit in the pitcher for 5 minutes.
- Rinse thoroughly with warm water and dry.
Vinegar neutralizes odors and also helps lift turmeric or berry stains that soap tends to leave behind. If the smell is really stubborn, like old fish smoothie territory, add a teaspoon of lemon juice to the vinegar mix and let it sit for 15 minutes instead of 5.
Cleaning the Parts You Can’t Reach With Water
The self-clean spin handles the inside of the pitcher, but it won’t touch three spots that quietly collect grime over time.
The lid and lid cap. Rinse these separately under running water after every use. The little rubber cap where you drop in ingredients traps moisture and is a common spot for mold if it’s left closed and damp.
The rubber gasket seal. This sits between the pitcher and the blade base and is the number one source of blender smell. Run a damp cloth or a cotton swab around the seal every few uses to catch food particles the self-clean spin misses.
The base and control panel. Never submerge this or run it under water. Wipe it down with a barely damp microfiber cloth after each use, and use a dry cotton swab for the crevices around the buttons.
When You Actually Need to Take It Apart
The self-clean method handles 90% of blender cleaning, but not all of it. Disassemble the pitcher and blade base:
- Once a week if you use the blender daily, for a deeper clean
- After blending something with a strong, oily residue like nut butter or oil-based dressings
- If you notice a smell that vinegar and baking soda didn’t fix
- Any time the gasket seal looks discolored or feels sticky
When you do take it apart, soak the blade assembly in warm soapy water for 10 minutes rather than scrubbing it by hand. It loosens buildup around the blade base where a sponge can’t reach, and it keeps your fingers away from the blades entirely.
Keeping Your Blender Clean Long-Term
A few habits make the difference between a blender that needs a deep clean every week and one that barely needs it at all.
Rinse the pitcher immediately after use, even if you’re not doing the full self-clean spin right away. Dried smoothie is much harder to remove than fresh smoothie. Store the blender with the lid off between uses so moisture doesn’t get trapped inside and cause odors. And skip the dishwasher for the pitcher unless the manufacturer’s manual specifically says it’s dishwasher-safe. Hot dishwasher cycles can warp plastic pitchers and degrade rubber seals faster than hand cleaning.
If your kitchen counter is already crowded with the blender jockeying for space next to other appliances, it might be worth checking out our guide on pot and pan organizers for small kitchens, several of the tiered and wall-mounted options work just as well for corralling small appliances and cleaning tools.
Frequently Asked Questions
Can I put my blender pitcher in the dishwasher? Only if the manufacturer says it’s dishwasher-safe, and check your manual to be sure. Repeated dishwasher cycles can warp plastic pitchers over time and dry out rubber gaskets, which leads to leaks. Glass pitchers generally handle it better than plastic ones, but hand washing or the self-clean method will always be gentler.
Why does my blender still smell after I clean it? The smell almost always lives in the rubber gasket seal between the pitcher and blade base, not the pitcher itself. Wipe around that seal with a vinegar-dampened cloth or cotton swab, and let the pitcher air dry completely with the lid off. Trapped moisture in a closed, damp pitcher is the most common cause of lingering odor.
How often should I actually take my blender apart to clean it? For daily use, once a week is enough for a deeper clean. If you’re only blending a couple times a week, once a month is plenty. Anything with oily or thick residue, like peanut butter or hummus, should prompt a disassembly and soak sooner rather than waiting for the weekly schedule.
The Bottom Line
For everyday cleaning, you don’t need to touch the blades at all: warm water, a drop of soap, and a 30-second spin does the job. Save the full disassembly for a weekly deep clean or for tackling oily residue and stubborn smells, and your blender will stay fresh with a fraction of the effort.