How to Sharpen a Knife at Home: When to Do It and What Actually Works
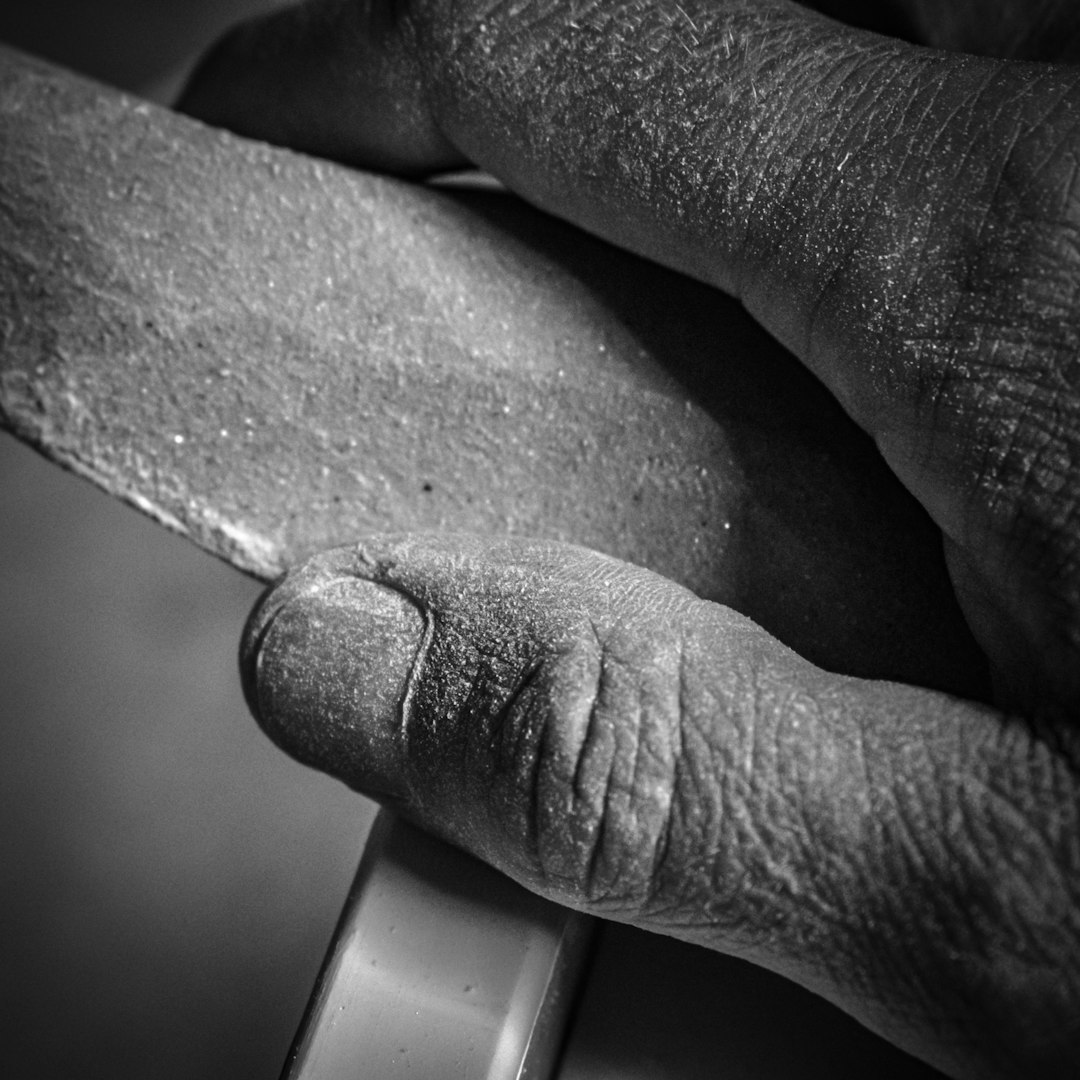 Photo by Sebastian Schuster on Unsplash
A dull knife is more dangerous than a sharp one. That sounds backwards until the moment your blade slips off a tomato skin and heads straight for your fingers. Sharp knives cut where you aim them. Dull ones require force, and force is where accidents happen.
The frustrating part is that most home cooks wait far too long to sharpen, then reach for whatever gadget promises the fastest fix. Some of those gadgets work fine. Some quietly destroy your blade. Knowing the difference takes about five minutes of reading, so here we are.
This guide covers how to tell when your knife actually needs attention, the honest difference between honing and sharpening, and which methods are worth your time at home.
The Difference Between Honing and Sharpening (This Part Matters)
Most people use these words interchangeably. They shouldn’t.
Honing straightens the edge. Over time, a knife’s thin metal edge folds microscopically to one side. The blade isn’t worn down, it’s just bent out of alignment. A honing steel fixes that in about 30 seconds. The knife feels sharp again because the edge is back where it belongs.
Sharpening removes metal. When the edge is genuinely worn down or chipped, no amount of honing will fix it. You need abrasion: a whetstone, a pull-through sharpener, or an electric sharpener grinds away a tiny layer of steel to create a fresh edge.
Think of it this way: honing is like straightening a bent nail. Sharpening is like cutting a new point on a pencil.
How to Tell When Your Knife Needs Sharpening
Your knife is telling you it’s dull. You just have to listen.
The simplest test is the paper test. Hold a sheet of printer paper by the top edge and slice downward through it. A sharp knife glides through cleanly. A dull knife tears, snags, or crumples the paper. No equipment needed.
The tomato test works just as well in a practical setting. If you have to press and saw to get through tomato skin, your knife is dull. Same goes for onion skin, fresh herbs, or the crust of a good loaf of bread.
As a rough guide: hone your knife every 2 to 3 uses, and sharpen it every 2 to 4 months depending on how often you cook. Heavy daily cooks may need to sharpen every 6 weeks. Occasional weekend cooks can stretch to twice a year.
How to Hone a Knife with a Honing Steel
This should be a weekly habit, not an occasional event. It takes 30 seconds and keeps sharpening sessions further apart.
- Hold the honing steel vertically, tip resting on a folded kitchen towel on the counter.
- Place the heel of the knife at the top of the steel, blade angled at 15 to 20 degrees from the steel (roughly the angle of a thick slice of bread crust).
- Draw the blade downward and toward you in one smooth arc, moving from heel to tip. Light pressure only.
- Alternate sides: 4 to 6 strokes per side.
You can also use the swipe method, where the steel stays in one hand and you draw the knife across it. Both work. The vertical method is easier for beginners because the steel doesn’t move.
How to Sharpen a Knife at Home: Three Methods Compared
Whetstone (Best Results, Slowest Learning Curve)
A whetstone gives you the most control and the longest-lasting edge. It’s the method professional cooks use, and it’s not as intimidating as it looks.
- Soak a water stone for 5 to 10 minutes before use (oil stones need a few drops of honing oil, not water). A 1000-grit stone handles most home sharpening; a 3000 to 6000-grit stone is for polishing after.
- Place the stone on a damp towel to stop it sliding.
- Hold the knife at 15 to 20 degrees against the stone. A useful trick: place two stacked coins under the spine to approximate the angle.
- Push the blade forward across the stone in a slight arc, moving from heel to tip. Apply moderate, consistent pressure on the push stroke. Lift lightly on the return.
- Do 10 strokes on one side, then 10 on the other. Continue alternating until you feel a slight burr (a tiny rough edge) forming on the opposite side of the blade. That tells you you’ve removed enough metal.
- Move to a finer grit stone and repeat with lighter pressure to polish the edge.
Expect a 15 to 20 minute session when you’re learning. With practice, it drops to 10.
Pull-Through Sharpener (Fastest, Good Enough for Most)
A quality pull-through sharpener with carbide or diamond abrasive slots handles 90 percent of home sharpening needs in under a minute. The trade-off is that it removes more metal per session than a whetstone, so your knife ages faster over years of use. For most home cooks, that’s an acceptable trade for convenience.
Use slow, steady strokes. Pull the blade through 3 to 5 times per side with light downward pressure. Don’t press hard. Let the abrasive do the work.
Electric Sharpener (Easiest, Most Consistent)
Electric sharpeners are foolproof by design. They guide the angle for you, which removes one of the biggest variables. Good ones work in two or three stages: a coarse slot for real sharpening, a medium slot for refining, and a fine slot for finishing. Run the knife through each stage two or three times. Total time: about two minutes.
The downside is the same as pull-through sharpeners: they remove metal aggressively. Don’t use an electric sharpener every week. Use it when the knife genuinely needs it, then maintain the edge with a honing steel between sessions.
If you’re shopping for a sharpener that won’t wreck your knives or your budget, the 3 Best Knife Sharpeners Under $50 That Actually Work has solid picks across all three styles.
What Not to Do
Skip the mug trick. Dragging your blade along the unglazed base of a ceramic mug works in a pinch, but the angle is completely uncontrolled and the results are inconsistent. Same goes for the back of another knife blade.
Don’t put your knives in the dishwasher. The heat and rattling dull edges faster than almost anything else. Hand wash, dry immediately, store in a knife block or on a magnetic strip.
And don’t wait until your knife is truly dead before sharpening it. Fifteen minutes on a whetstone can restore a moderately dull blade. A badly neglected knife needs serious grinding and may never fully recover.
Frequently Asked Questions
Can I sharpen a serrated knife at home? Yes, but the process is different. Serrated knives have individual scallops, not a flat edge. You need a tapered ceramic rod or a serrated knife sharpener to work each scallop individually. It’s tedious, but a serrated knife that’s losing its bite is worth the effort. Most home cooks can get away with touching up serrated knives once a year.
What angle should I sharpen my knife at? Most Western kitchen knives are sharpened at 20 degrees per side. Japanese knives typically use a 15-degree angle and have a harder, thinner edge as a result. When in doubt, check the manufacturer’s recommendation. Keeping a consistent angle matters more than getting the exact degree perfect, so pick an angle and stick to it throughout the session.
How long does a sharpened edge last? That depends entirely on what you’re cutting, what you’re cutting on, and how you store the knife. Cutting on glass or ceramic boards destroys edges fast. Wood and plastic boards are much gentler. A properly sharpened knife maintained with regular honing can hold a working edge for two to four months of moderate home use before needing another full sharpening.
The Bottom Line
Hone your knife every few uses to keep the edge aligned, and sharpen it two to four times a year to restore the edge when honing stops helping. A whetstone gives the best results if you’ll put in the practice time; a pull-through or electric sharpener works well if you just want a sharp knife without the learning curve.